
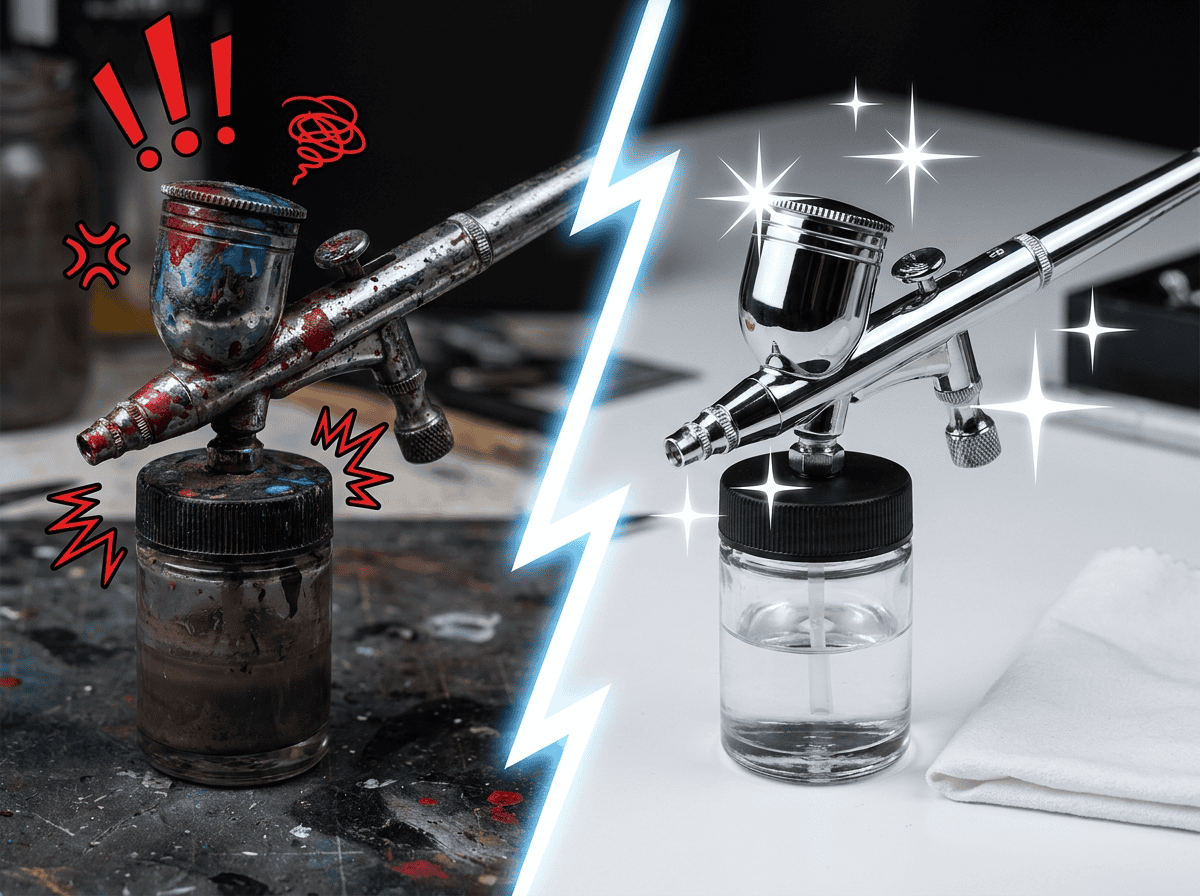
How to Clean an Airbrush: Quick Clean vs Deep Clean Guide
Keeping your airbrush clean is one of the most effective habits you can build. It improves your results, prevents frustrating blockages, and makes your equipment last far longer. Whether you use your airbrush for model making, miniature painting, cake decorating, makeup, fine art, or custom paintwork, the principle is the same — a clean airbrush sprays more smoothly and gives you fewer headaches.
The good news is that you do not need to fully strip your airbrush every single time you use it. Most of the time, a quick clean is all that is needed. Knowing the difference between the two — and when each applies — is what separates a smooth workflow from a frustrating one.
Browse our full range of airbrush cleaning products
Why Cleaning Your Airbrush Matters
An airbrush works by pulling paint, ink, dye, or another liquid through very small internal parts. The nozzle, needle, and paint channel are precision-engineered to create a fine, even spray. These components are so small that even a dried fleck of paint can disrupt performance.
A dirty airbrush can cause:
- Uneven or spluttering spray patterns
- Paint spitting or unexpected spattering
- Bubbling in the paint cup
- Blockages and poor paint flow
- Sticky or stiff trigger movement
- Dried paint building up around the needle or nozzle tip
Many airbrush problems that appear to be mechanical faults are actually cleaning issues. Before assuming a part needs replacing, it is always worth asking whether the airbrush simply needs a more thorough clean.
What Is an Airbrush Quick Clean?
A quick clean is a simple flush-through designed to remove leftover paint before it has the chance to dry inside the airbrush. It is the routine maintenance step most users will carry out several times in a session.
When to Do an Airbrush Quick Clean
You would typically carry out a quick clean:
- Between colour changes
- After a short spraying session
- When switching from one product type to another
- Before putting the airbrush down for a short break
A quick clean does not require taking the airbrush apart. The focus is on clearing the cup or bottle, flushing the airbrush through, and wiping away visible residue.
How to Quick Clean an Airbrush — Step by Step
- Empty the cup or bottle. Pour out or wipe away any remaining paint using a soft cloth, cotton bud, or paper towel.
- Add the appropriate cleaner. For water-based paints, use water or a dedicated airbrush cleaner. For solvent-based products, use the recommended solvent. For food, cosmetic, or body-art applications, always use a cleaner that is safe and specifically intended for that purpose.
- Spray through until clear. Run the cleaner through the airbrush until the liquid coming out is mostly clean.
- Backflush the airbrush. Cover the nozzle area with a cleaning pot cap, a cloth, or your finger and gently press the trigger. This sends bubbles back into the cup and helps loosen paint inside the front section of the airbrush.
- Repeat with fresh cleaner. Empty the dirty liquid, add fresh cleaner, and spray through again.
- Wipe the needle tip. If your airbrush design allows it, carefully wipe the very tip of the needle. Paint — particularly acrylic — often collects here and can cause splatter or an inconsistent spray pattern.
When Is a Quick Clean Enough?
An airbrush quick clean is sufficient when:
- The airbrush is still spraying well
- Paint has not had time to dry inside
- You are simply changing colours or finishing a short session
For example, moving from light blue to dark blue may require nothing more than a quick flush. If the cleaner runs clear quickly, there is likely no need to strip the airbrush down further.
It is also worth noting that over-disassembling an airbrush causes unnecessary wear. Nozzles, threads, seals, and needles are precision parts — handling them too frequently or roughly increases the risk of damage. Clean regularly, but clean sensibly.
What Is an Airbrush Deep Clean?
A deep clean is a more thorough process that involves partially disassembling the airbrush to remove dried paint, residue, or built-up deposits from the needle, nozzle, cap, and internal paint path.
This is the clean you carry out when flushing alone is no longer enough to resolve the problem.
A deep clean typically involves:
- Removing the needle
- Cleaning the nozzle and nozzle cap area
- Soaking appropriate removable parts where suitable
- Carefully wiping the needle along its full length
- Clearing dried material from the front end of the airbrush
Always follow the manufacturer’s instructions for your specific model. Some parts are delicate, and certain seals can be damaged by strong solvents. For Iwata airbrushes, this video covers the deep clean process in full detail: Watch the Iwata Deep Clean Guide on YouTube
When Should You Deep Clean Your Airbrush?
You should carry out an airbrush deep clean when you notice the following signs that material has built up inside:
- The airbrush keeps clogging even after flushing — a common airbrush clogging fix is a proper deep clean
- The spray pattern becomes uneven or distorted
- Paint spits, splatters, or pulses
- Bubbles appear in the paint cup during spraying
- The trigger feels sticky or stiff
- Paint flow is weak even at full needle retraction
- Cleaner will not spray through properly
- Visible dried paint around the nozzle or needle
You should also deep clean your airbrush after using products that dry quickly or leave heavier residue, such as:
- Acrylic paints (particularly metallics and pearls)
- Primer or varnish
- Thicker specialist coatings
If an airbrush has been left with paint sitting inside — even briefly — a quick clean may not be enough. Once paint dries inside the nozzle, it needs to be worked loose rather than just flushed out.
How Often Should You Deep Clean an Airbrush?
There is no single rule, as frequency depends on how often you spray and what materials you use.
As a general guide:
- Hobby users who are careful with quick cleaning may deep clean after every few sessions
- Regular or heavy users may need to deep clean more frequently
- Anyone using primers, varnishes, metallics, or thicker coatings should consider a deep clean after each session
The most reliable approach is to let the airbrush guide you. If it sprays smoothly and cleans out easily, a quick clean is likely sufficient. If performance begins to drop, it is time for a deeper clean.
Quick Clean vs Deep Clean: The Key Difference
| Quick Clean | Deep Clean | |
| Purpose | Routine maintenance | Restoration |
| When | Between colours, after sessions | When performance drops, after heavy use |
| Involves | Flushing, backflushing, wiping the needle tip | Disassembly, soaking, thorough cleaning of all internal parts |
| Frequency | Every session | Every few sessions or as needed |
Think of it like washing dishes. A quick rinse works perfectly well if a plate has just been used. If food has dried on overnight, it needs soaking and proper scrubbing. Your airbrush works in exactly the same way.
Airbrush Cleaning Tips: How to Keep Your Airbrush Cleaner for Longer
These airbrush cleaning tips will reduce the frequency of deep cleans and help maintain reliable performance:
- Do not let paint sit in the airbrush. Even a few minutes can matter with fast-drying products like acrylics.
- Thin your paint properly. Paint that is too thick is more likely to clog and leave residue inside the airbrush.
- Use the right cleaner. Water alone is often not enough, particularly with dried acrylics, primers, or solvent-based products. Using a dedicated airbrush cleaner makes a significant difference.
- Flush before breaks. A quick run of cleaner through the airbrush before stepping away can prevent you needing a deep clean later.
- Be gentle with the needle and nozzle. These are precision-engineered parts. A bent needle tip or a cracked nozzle will affect your spray pattern immediately.
- Use a cleaning pot. A cleaning pot keeps cleaner and overspray contained, making the whole process neater and safer. Airbrush cleaning pots and accessories
Safety Guidance for Airbrush Cleaning
Airbrush cleaning should always be done safely, particularly when using solvents.
- Ventilate your workspace. Always clean your airbrush in a well-ventilated area, especially if you are using solvent-based paints or cleaners. Avoid spraying cleaner into open air — a cleaning pot is the simplest way to reduce both fumes and mess.
- Use the correct cleaner for your application. Products used for model painting, automotive work, or industrial applications are not suitable for food, beauty, cosmetic, or body-art applications. Always use a cleaner that is specifically approved for your type of work.
- Store cleaners safely. Keep cleaning products away from heat sources, out of reach of children, and in their original labelled containers.
The Right Kit Makes Cleaning Easier
Having the right tools at hand removes the friction from cleaning and means you are more likely to do it properly after every session.
Our cleaning kit in a box contains everything you need to get into those hard-to-reach areas — ideal for both quick cleans and more thorough deep cleans. For a closer look at the individual components and what each one is used for, Iwata have put together a useful overview: Watch the Iwata Airbrush Parts and Cleaning Tools Guide on YouTube
Shop all airbrush cleaning kits
Summary
A clean airbrush is a reliable airbrush. Quick cleaning should be a routine part of every session — it takes only a few minutes and prevents most common problems before they develop.
Deep cleaning is not something you need to do constantly, but it is essential when performance starts to drop or when you have been using products that are more likely to dry or leave residue inside the airbrush.
The key is balance: clean quickly and often, clean deeply when needed, and your airbrush will reward you with smoother spraying, fewer clogs, and consistently better results.
Frequently Asked Questions About Cleaning an Airbrush
How often should I clean my airbrush?
You should carry out a quick clean every time you change colour or finish spraying. A deep clean is needed less frequently — typically every few sessions for hobbyists, or after every session if you are using primers, varnishes, or metallics. The best guide is the airbrush itself: if performance drops, it is time for a deeper clean.
What is the best cleaner for an airbrush?
The best cleaner depends on the paint you are using. For water-based acrylics, a dedicated airbrush cleaner is more effective than water alone. For solvent-based paints, use the appropriate solvent as recommended by the paint manufacturer. For food, cosmetic, or body-art use, always use a cleaner that is specifically approved for that purpose.
Why does my airbrush keep clogging even after cleaning?
If your airbrush is clogging repeatedly, a quick clean alone may not be enough. This is usually a sign that dried paint or residue has built up inside the nozzle or needle channel. The fix is a proper deep clean — removing the needle, cleaning the nozzle, and soaking any affected parts as appropriate for your model. Using the correct thinner for your paint and cleaning more thoroughly between sessions will usually prevent it recurring.
Is it safe to use any cleaning product in my airbrush?
Not all cleaning products are suitable for every type of airbrush work. Solvents and cleaners designed for modelling or industrial use must not be used in food, cosmetic, or body-art applications. Always check that the cleaner you are using is appropriate for your specific application and safe for use with the materials you are spraying.
Do I need to deep clean an Iwata airbrush differently?
The general principles of deep cleaning apply to all double-action airbrushes, including Iwata models. However, Iwata airbrushes have specific tolerances and component designs — it is important to follow Iwata’s own guidance for your model rather than a generic approach. Their deep clean video on YouTube covers the correct process in detail for Iwata airbrush cleaning.
Content on this page is intended for general guidance. Always follow the specific instructions for your airbrush model and the products you are using. Cleaning products suitable for modelling, craft, or industrial use are not appropriate for food, cosmetic, or body-art applications. Use only products specifically approved for those purposes.

