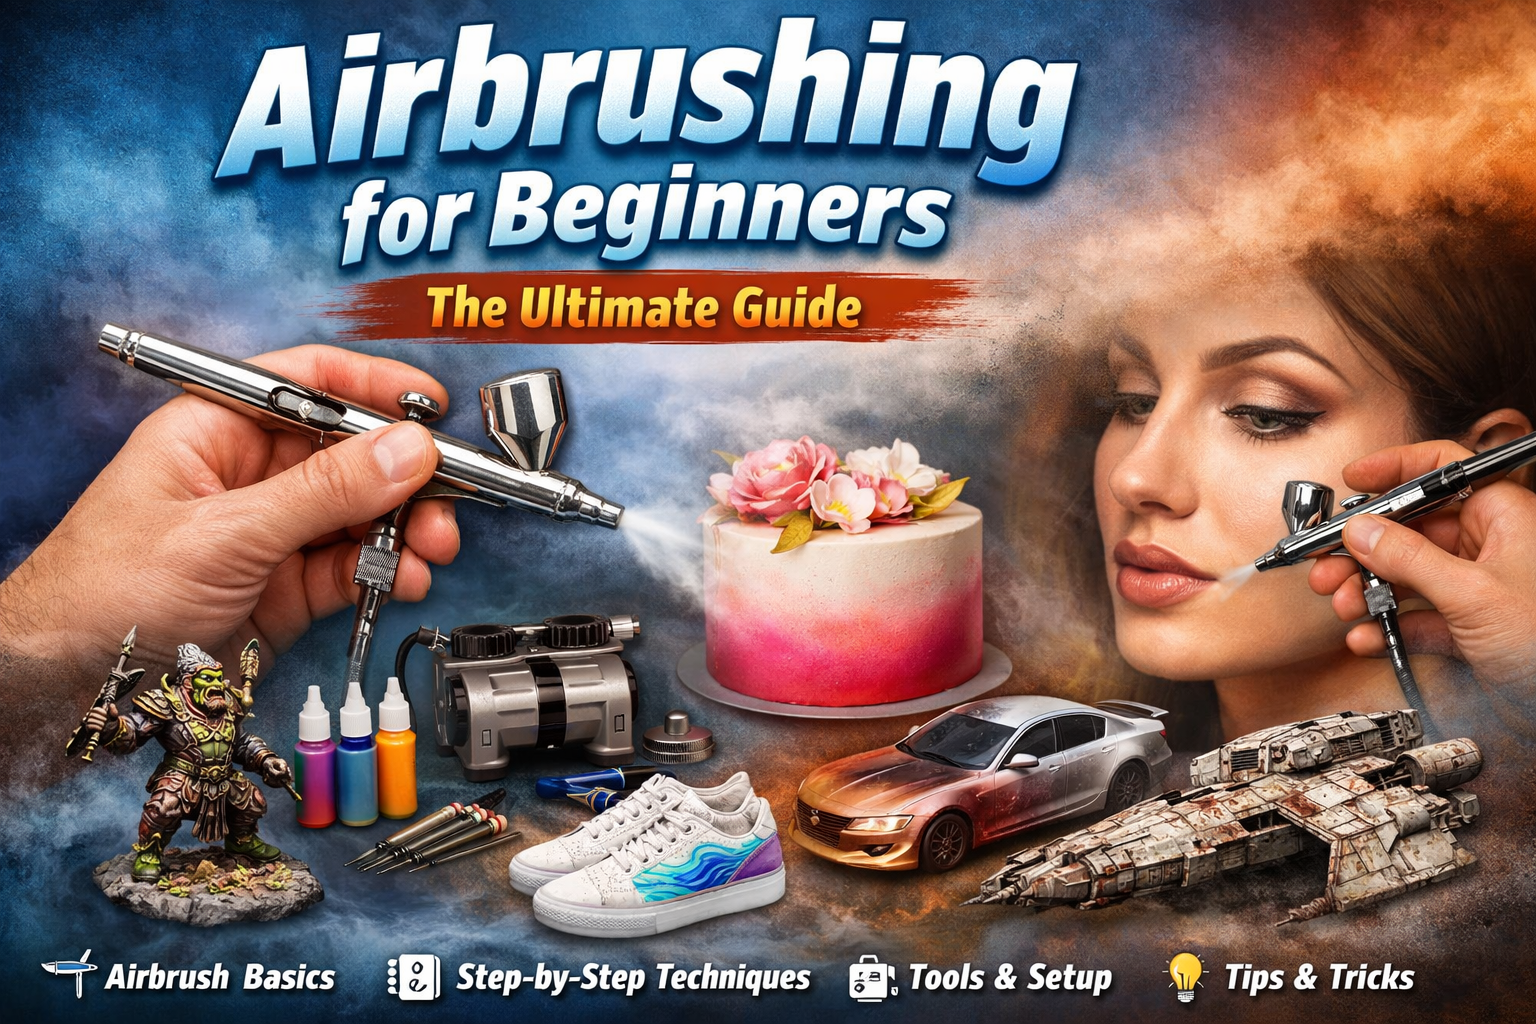
Airbrushing for Beginners: The Ultimate Guide to Airbrush Painting
If you’re looking to learn airbrushing for beginners, you’re in the right place. Whether you’ve seen cakes with flawless gradients, model kits with realistic weathering, or custom artwork with smooth finishes, chances are an airbrush was used.
At first glance, airbrushing might look like magic. However, in reality, it’s a practical and learnable skill once you understand the fundamentals.
In this complete beginner’s guide to airbrushing, you’ll learn:
- What airbrushing is
- How an airbrush works
- What you can create with it
- Essential tools and setup
- Common mistakes (and how to fix them)
What Is Airbrushing?
Airbrushing is a painting technique that uses compressed air to spray a fine mist of paint onto a surface, allowing for smooth coverage and precise control.
Unlike traditional brush painting, an airbrush atomizes paint into tiny particles. As a result, you can achieve:
- Smooth, even finishes
- Soft gradients and blends
- Fine detail and controlled shading
This is why airbrush painting is widely used in art, modelling, cake decorating, and automotive work.
How Does an Airbrush Work?
To put it simply, an airbrush works by combining air pressure and paint flow to create a controlled spray.
There are a few key components involved:
- Compressor: Provides consistent airflow
- Airbrush: Mixes air and paint
- Needle & nozzle: Control how much paint is released
- Trigger: Adjusts air and paint output
In most beginner setups, you’ll use a dual-action airbrush, which allows you to control both air and paint independently for better results.
What Do You Need to Start Airbrushing?
Before you begin, you’ll need a basic airbrush setup. Fortunately, getting started is simpler than most people expect.
Essential Airbrush Equipment:
- Airbrush (gravity-fed is best for beginners)
- Air compressor (preferably with a tank)
- Airbrush paints (acrylic is most beginner-friendly)
- Thinner or reducer
- Cleaning kit (non-negotiable)
Additionally, you may want:
Choosing the right setup early on can make learning airbrushing much easier.
It’s also important to follow proper safety guidance when working with sprays and fumes—see recommendations from the
UK Health & Safety
What Can You Do With Airbrushing?
One of the biggest reasons people get into airbrushing is its versatility. In fact, it can be used across multiple creative and professional industries.
1. Smooth Base Coats
First and foremost, airbrushing is ideal for applying smooth, even base layers.
This is especially useful for:
- Miniatures and scale models
- Cosplay props and armour
- Canvas and illustration work
- Automotive and motorcycle parts
As a result, this is often the first major improvement beginners notice.
2. Gradients and Blending
In addition, airbrushes excel at creating seamless colour transitions.
For example:
- Sky and sunset effects
- Portrait shading
- Glow effects (OSL in miniatures)
- Custom fades on shoes, helmets, and boards
3. Fine Detail and Precision Work
As your control improves, you can achieve highly detailed results.
This includes:
- Highlights and shadows
- Skin textures and fine patterns
- Fabric and surface detail
- Photorealistic airbrush art
Even so, you don’t need to master ultra-fine detail right away—because subtle shading alone can elevate your work significantly.
4. Stencilling and Masking Techniques
Furthermore, airbrushing pairs perfectly with stencils and masking tools.
This allows you to create:
- Logos and lettering
- Camouflage patterns
- Clean colour blocking
- Repeating graphic designs
5. Weathering and Realistic Effects
On the other hand, airbrushing isn’t just for clean finishes—it’s also powerful for realism.
For instance:
- Rust, dust, and soot effects
- Heat discolouration on metal
- Aging and wear on props
- Realistic environmental effects
6. Cake Decorating and Edible Airbrushing
Interestingly, airbrushing is also widely used in baking.
Food-safe airbrush systems are used for:
- Cake gradients and shading
- Metallic finishes
- Stencilled cake designs
- Enhancing fondant details
When working with edible products, always follow food safety standards such as those outlined by the
UK Food Standards Agency
Basic Airbrush Techniques for Beginners
To get the best results, it’s important to understand a few core techniques.
Essential Techniques:
- Trigger control – manage airflow and paint flow
- Distance control – closer = sharper lines, further = softer blends
- Layering – build colour gradually
- Paint thinning – ensures smooth spraying
Mastering these basics will dramatically improve your results.
Common Airbrushing Problems (And How to Fix Them)
Naturally, beginners run into a few common issues. Fortunately, most are easy to fix.
- Paint too thick → clogging or splattering
✔ Fix: Thin paint to a milk-like consistency - Too much paint too close → spidering
✔ Fix: Reduce paint flow or increase distance - Inconsistent spray → pressure issues
✔ Fix: Adjust PSI (typically 15–30 PSI for beginners) - Blockages mid-session → poor cleaning
✔ Fix: Clean regularly and thoroughly
Golden Rule for Beginners
Above all:
Thin your paint. Lower your pressure. Build layers gradually.
How to Clean an Airbrush (Quick Overview)
Cleaning your airbrush is essential for performance and longevity.
After each session:
- Flush with cleaner
- Spray through until clear
- Wipe needle tip
- Deep clean when needed
Consistent cleaning prevents most airbrush problems.
Is Airbrushing Worth It?
Ultimately, airbrushing is worth it if you want better finishes, faster coverage, and more control.
Airbrushing Is Ideal If You:
- Want smoother results than brushes or spray cans
- Enjoy creative projects (models, art, cakes, etc.)
- Want professional-quality finishes
- Are willing to learn a skill
It Might Not Be for You If:
- You dislike cleaning tools
- You lack a ventilated workspace
- You only need quick, one-time coverage
Why People Love Airbrushing
In the end, airbrushing sits at the perfect balance between speed and precision.
- Faster than traditional brush painting
- More controlled than spray cans
- Capable of professional-quality results
As you gain experience, it becomes less of a “technique” and more of a core creative tool that enhances everything you create.
FAQs About Airbrushing
Is airbrushing good for beginners?
Yes—airbrushing is beginner-friendly, especially with the right setup and basic knowledge.
What paint should beginners use for airbrushing?
Acrylic airbrush paints are the most beginner-friendly due to easy cleanup and versatility.
Do you need to thin airbrush paint?
Yes—most paints should be thinned to prevent clogging and ensure smooth spraying.
What pressure should I use for airbrushing?
Typically, beginners should use 15–30 PSI, depending on paint type and detail level.
Get Started with Airbrushing Today
Ready to start airbrushing?
Start with a beginner-friendly setup, practice your basics, and focus on building smooth layers.
With a little patience and consistency, you’ll quickly see why airbrushing is one of the most rewarding creative tools available.